
Decor costs can add up quickly so I’ve had to get creative this year in order to achieve the Halloween look I want on a budget! This wreath only cost me $5!
1. Collect branches for the base
I gathered branches of different sizes from my yard as they fell! I found that the more dead & dried out the branches are the better they work.
2. Create your wreath shape
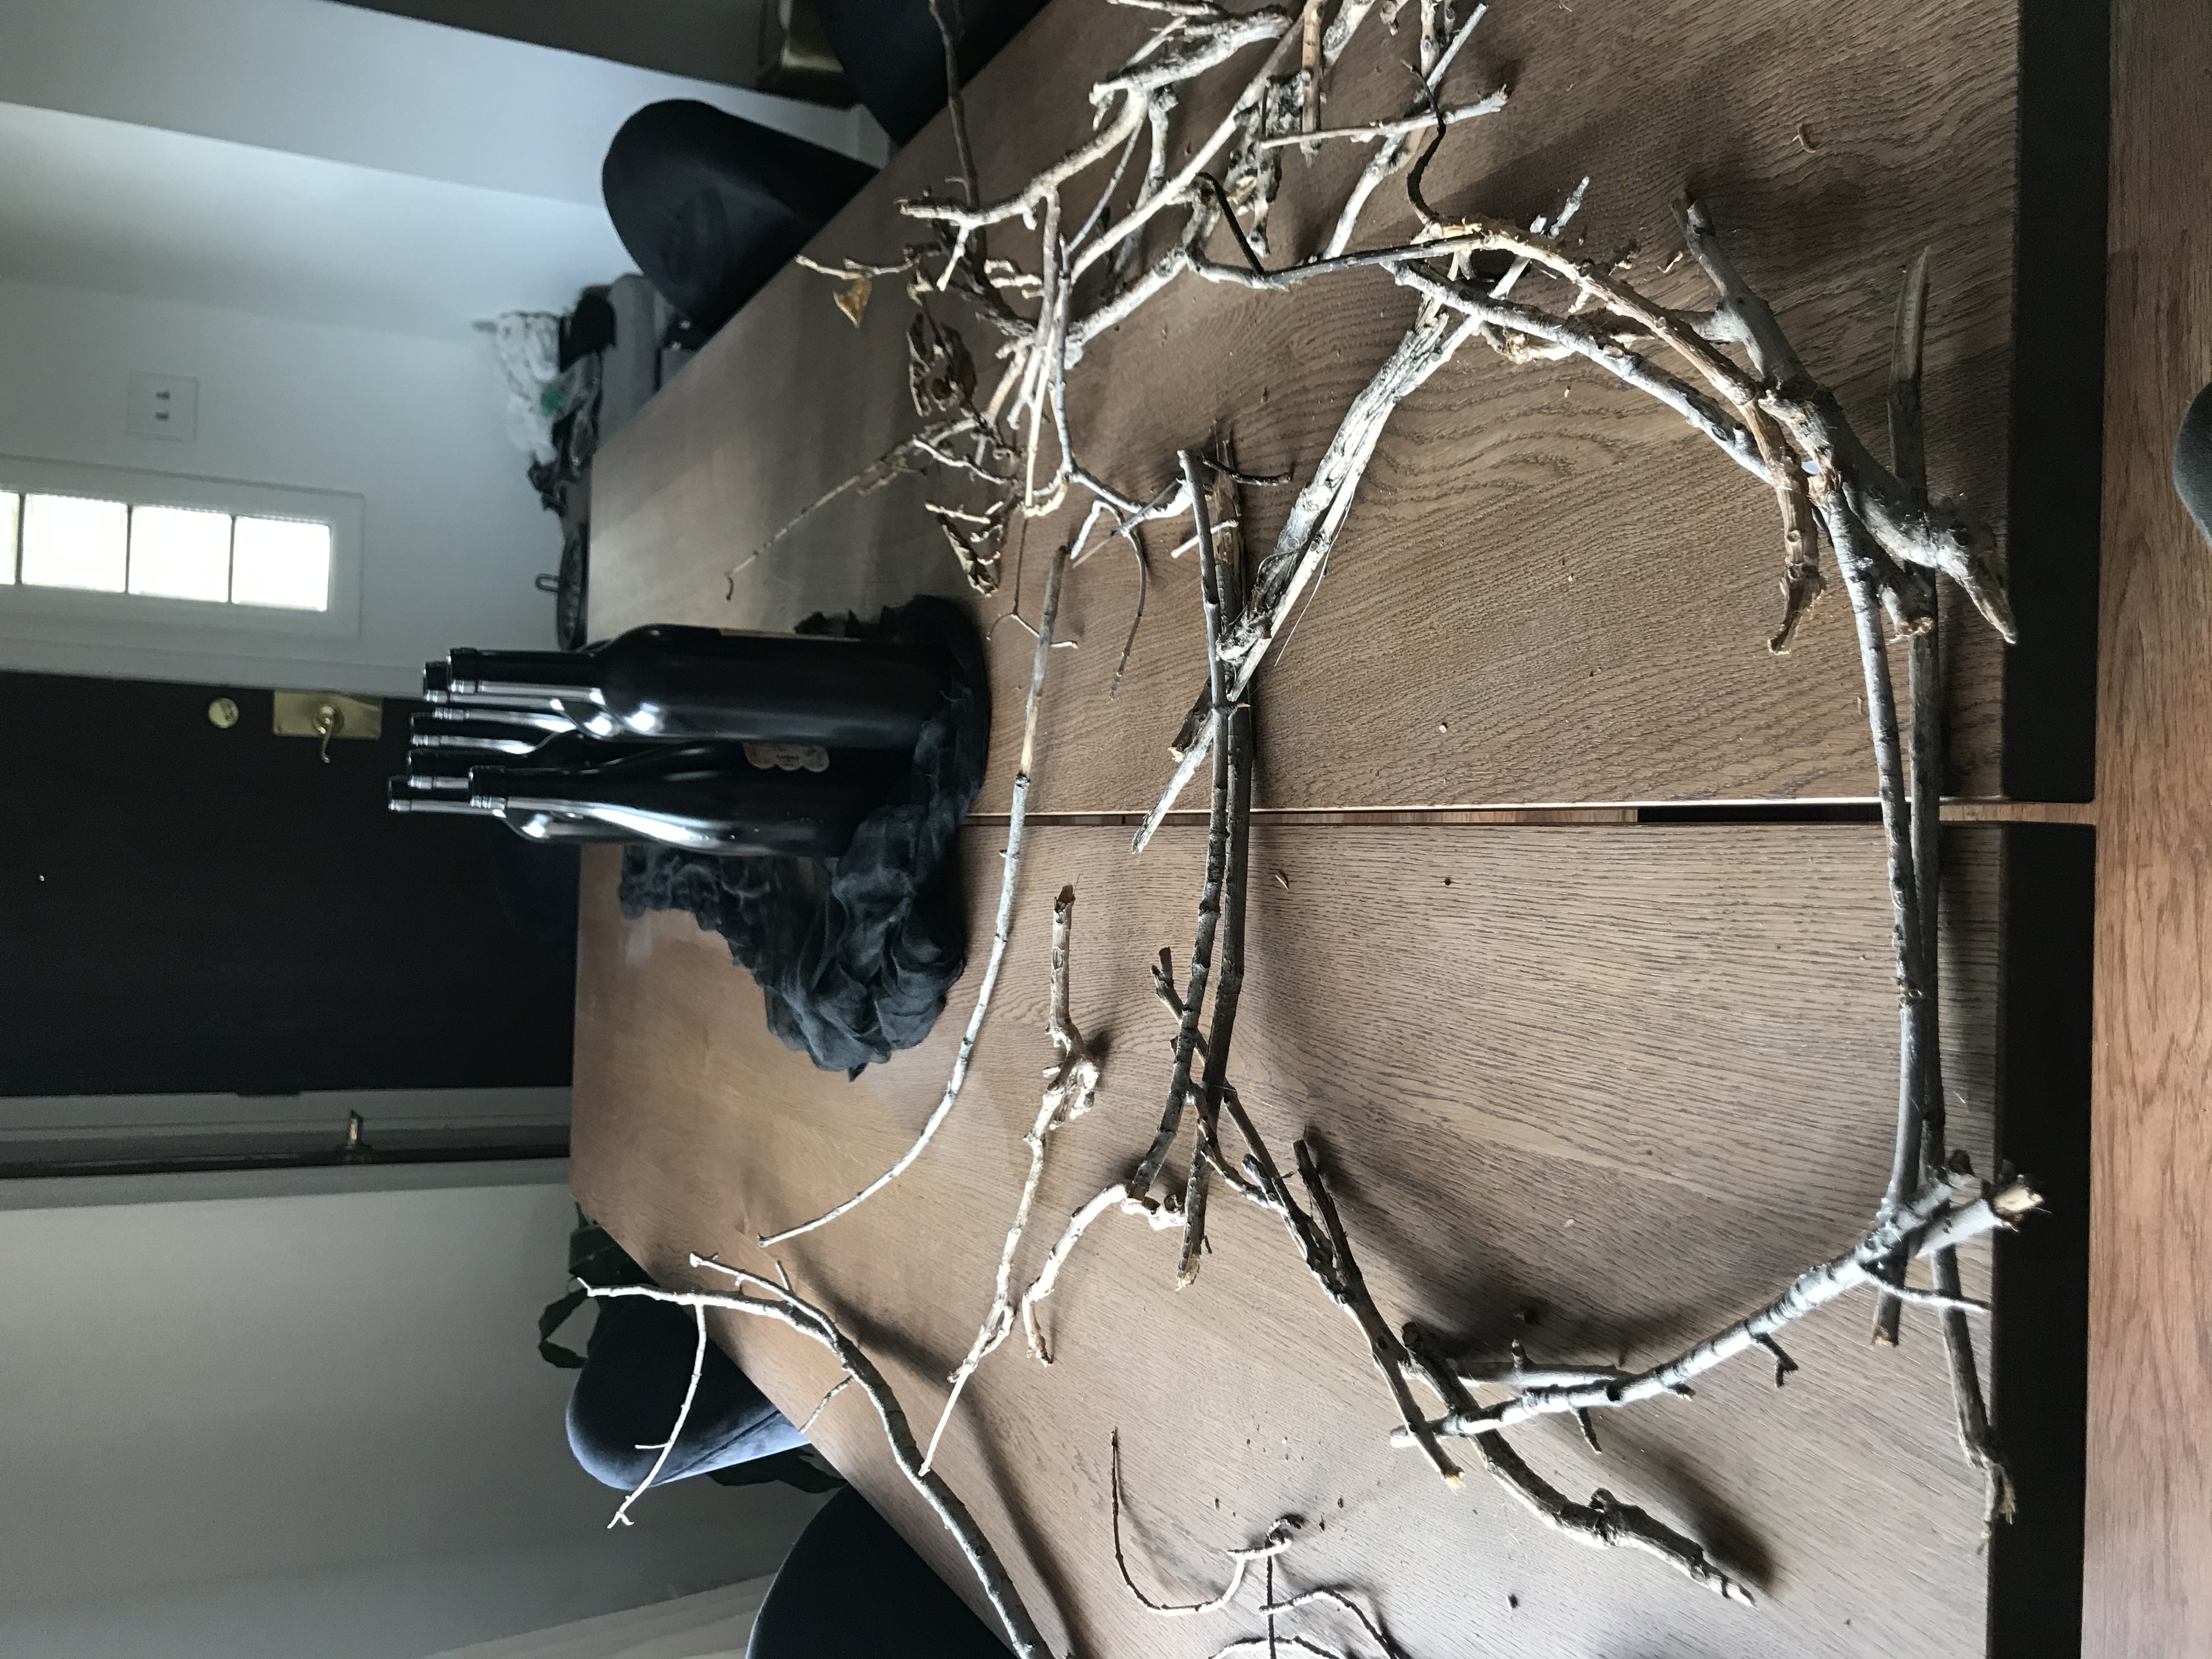
I decided I wanted the shape of my wreath to be a hexagon! You’ll want to use the thicker/stronger branches for this layer.
3. Hot glue gun
Glue them together at each point that the branches naturally touch. I went pretty heavy on glue because we get windy days here in Colorado and I wanted to make sure it could hold up.
4. Add 2 more layers to the base
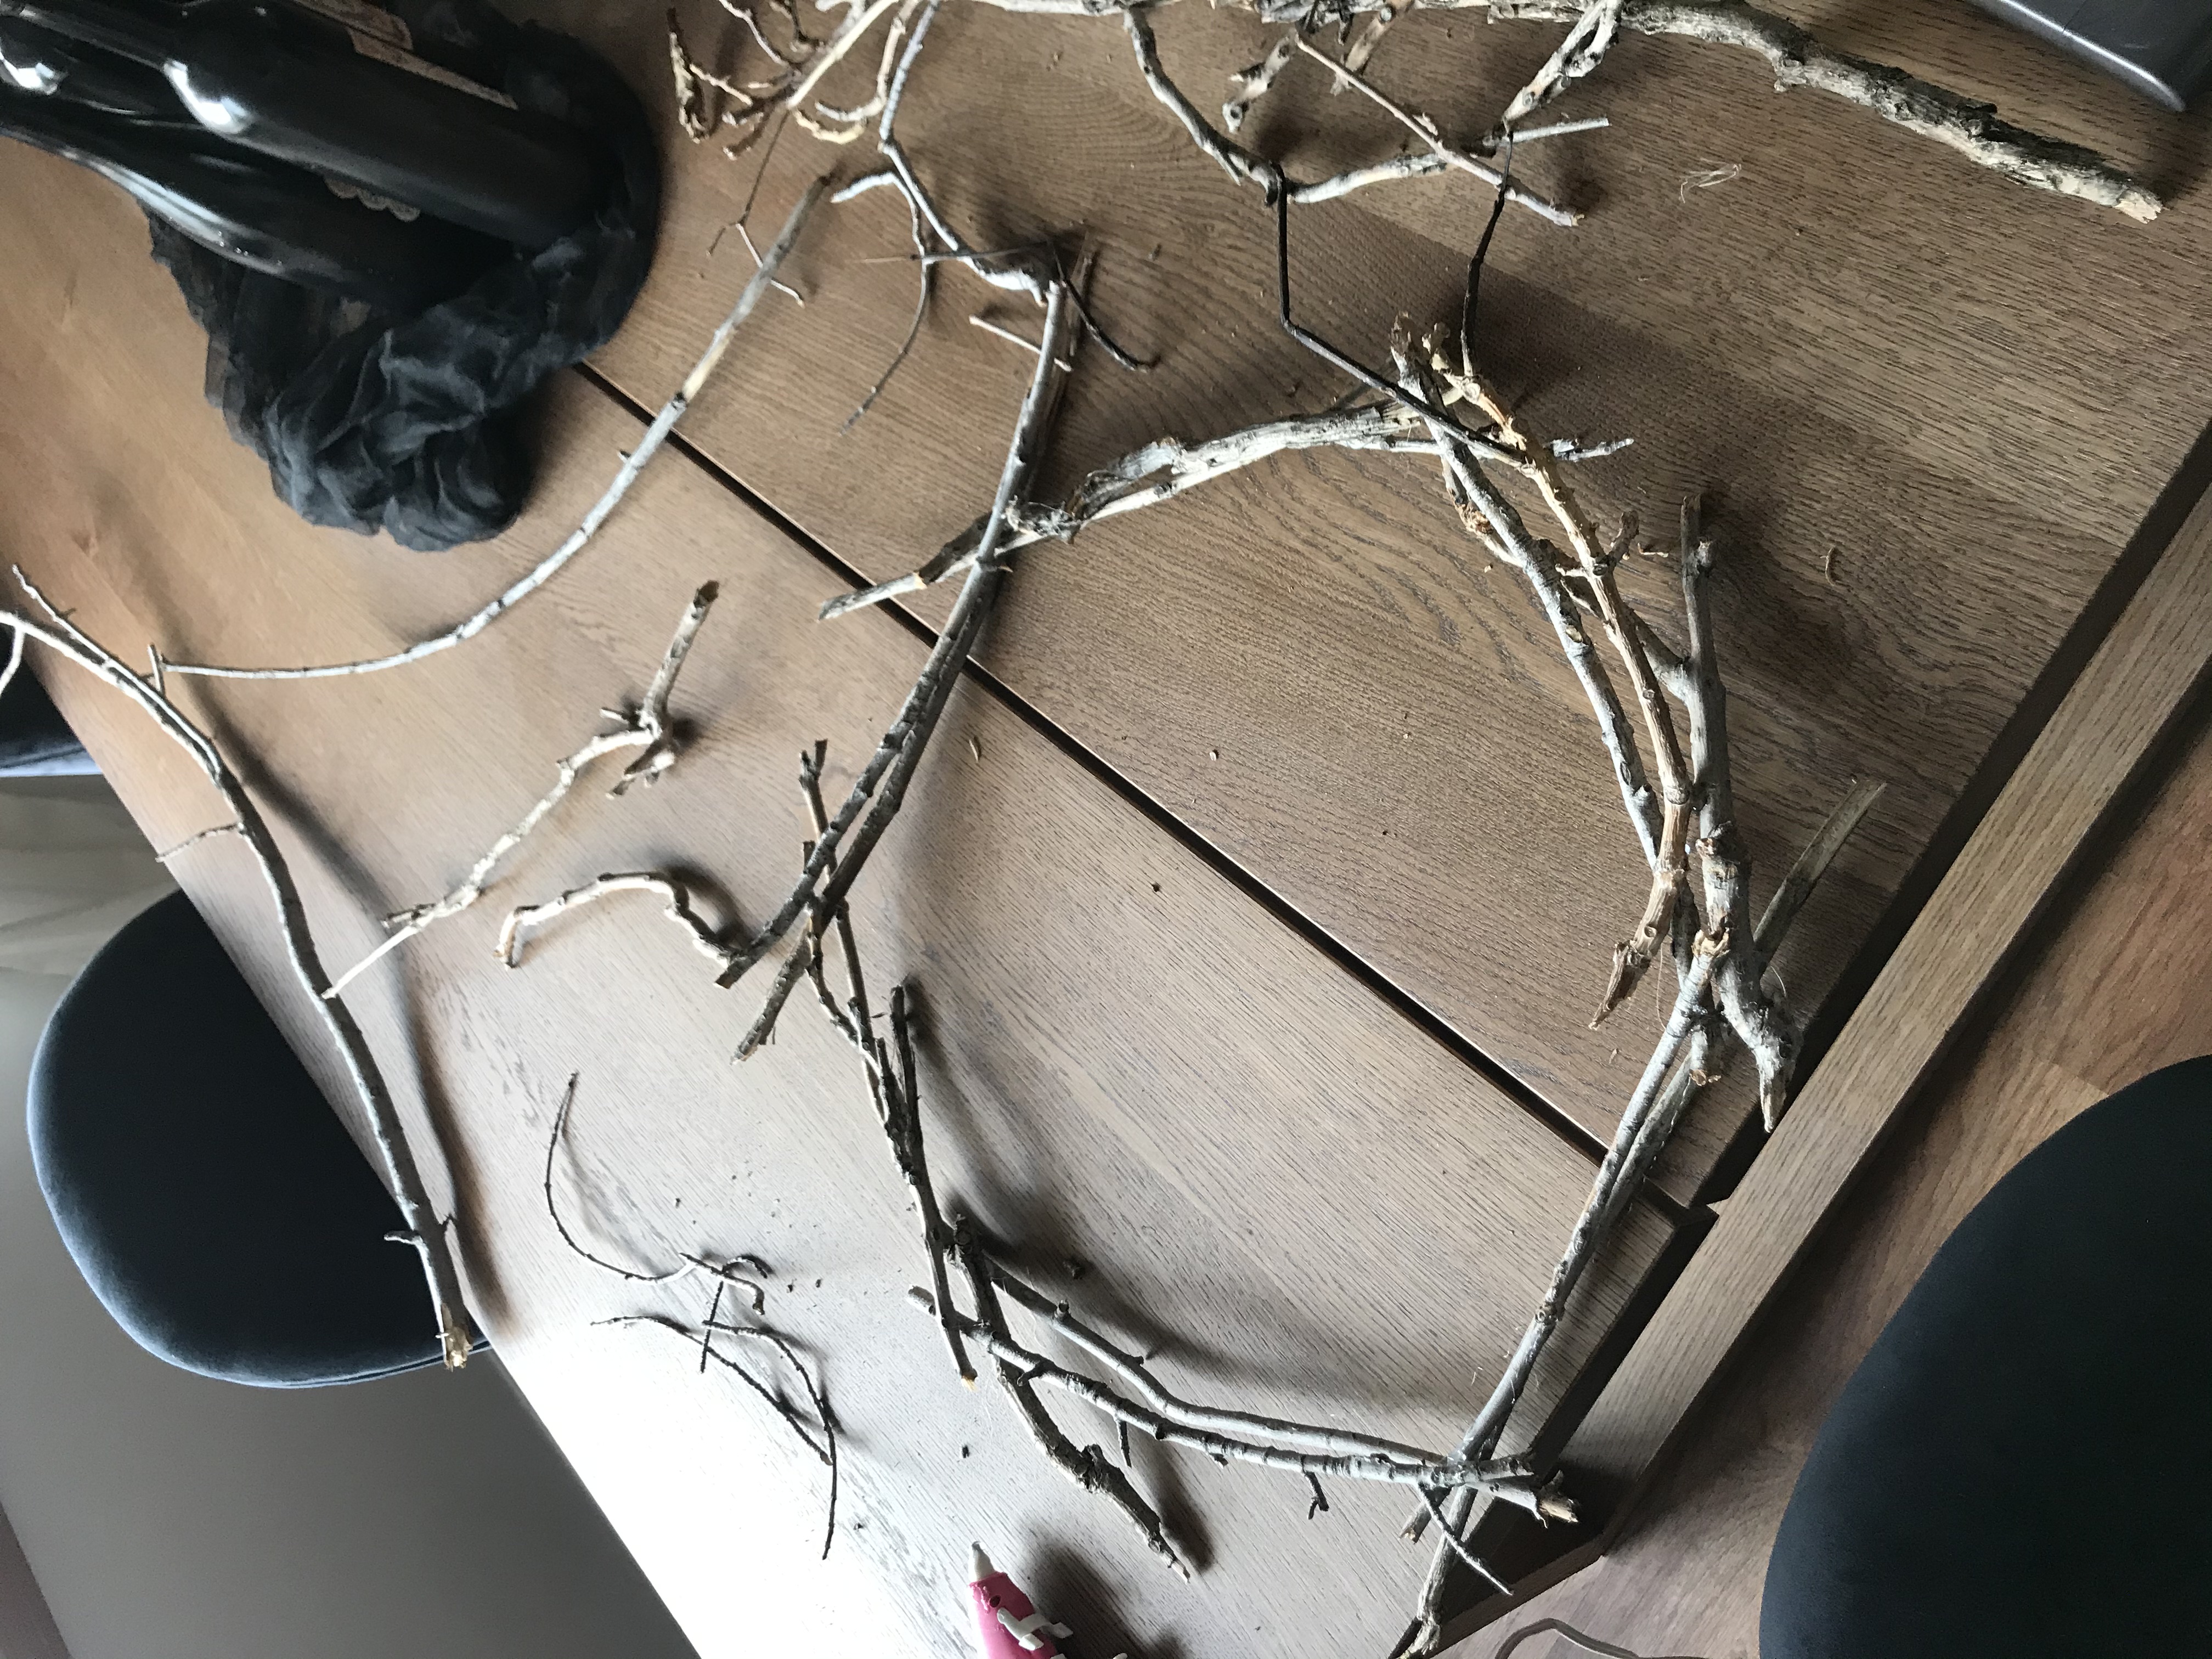
I did a total of 3 layers of thick/strong branches for the base to make it extra strong. Note: if your glue is old you might need to tie the corners together with string as well!
5. Collect twigs
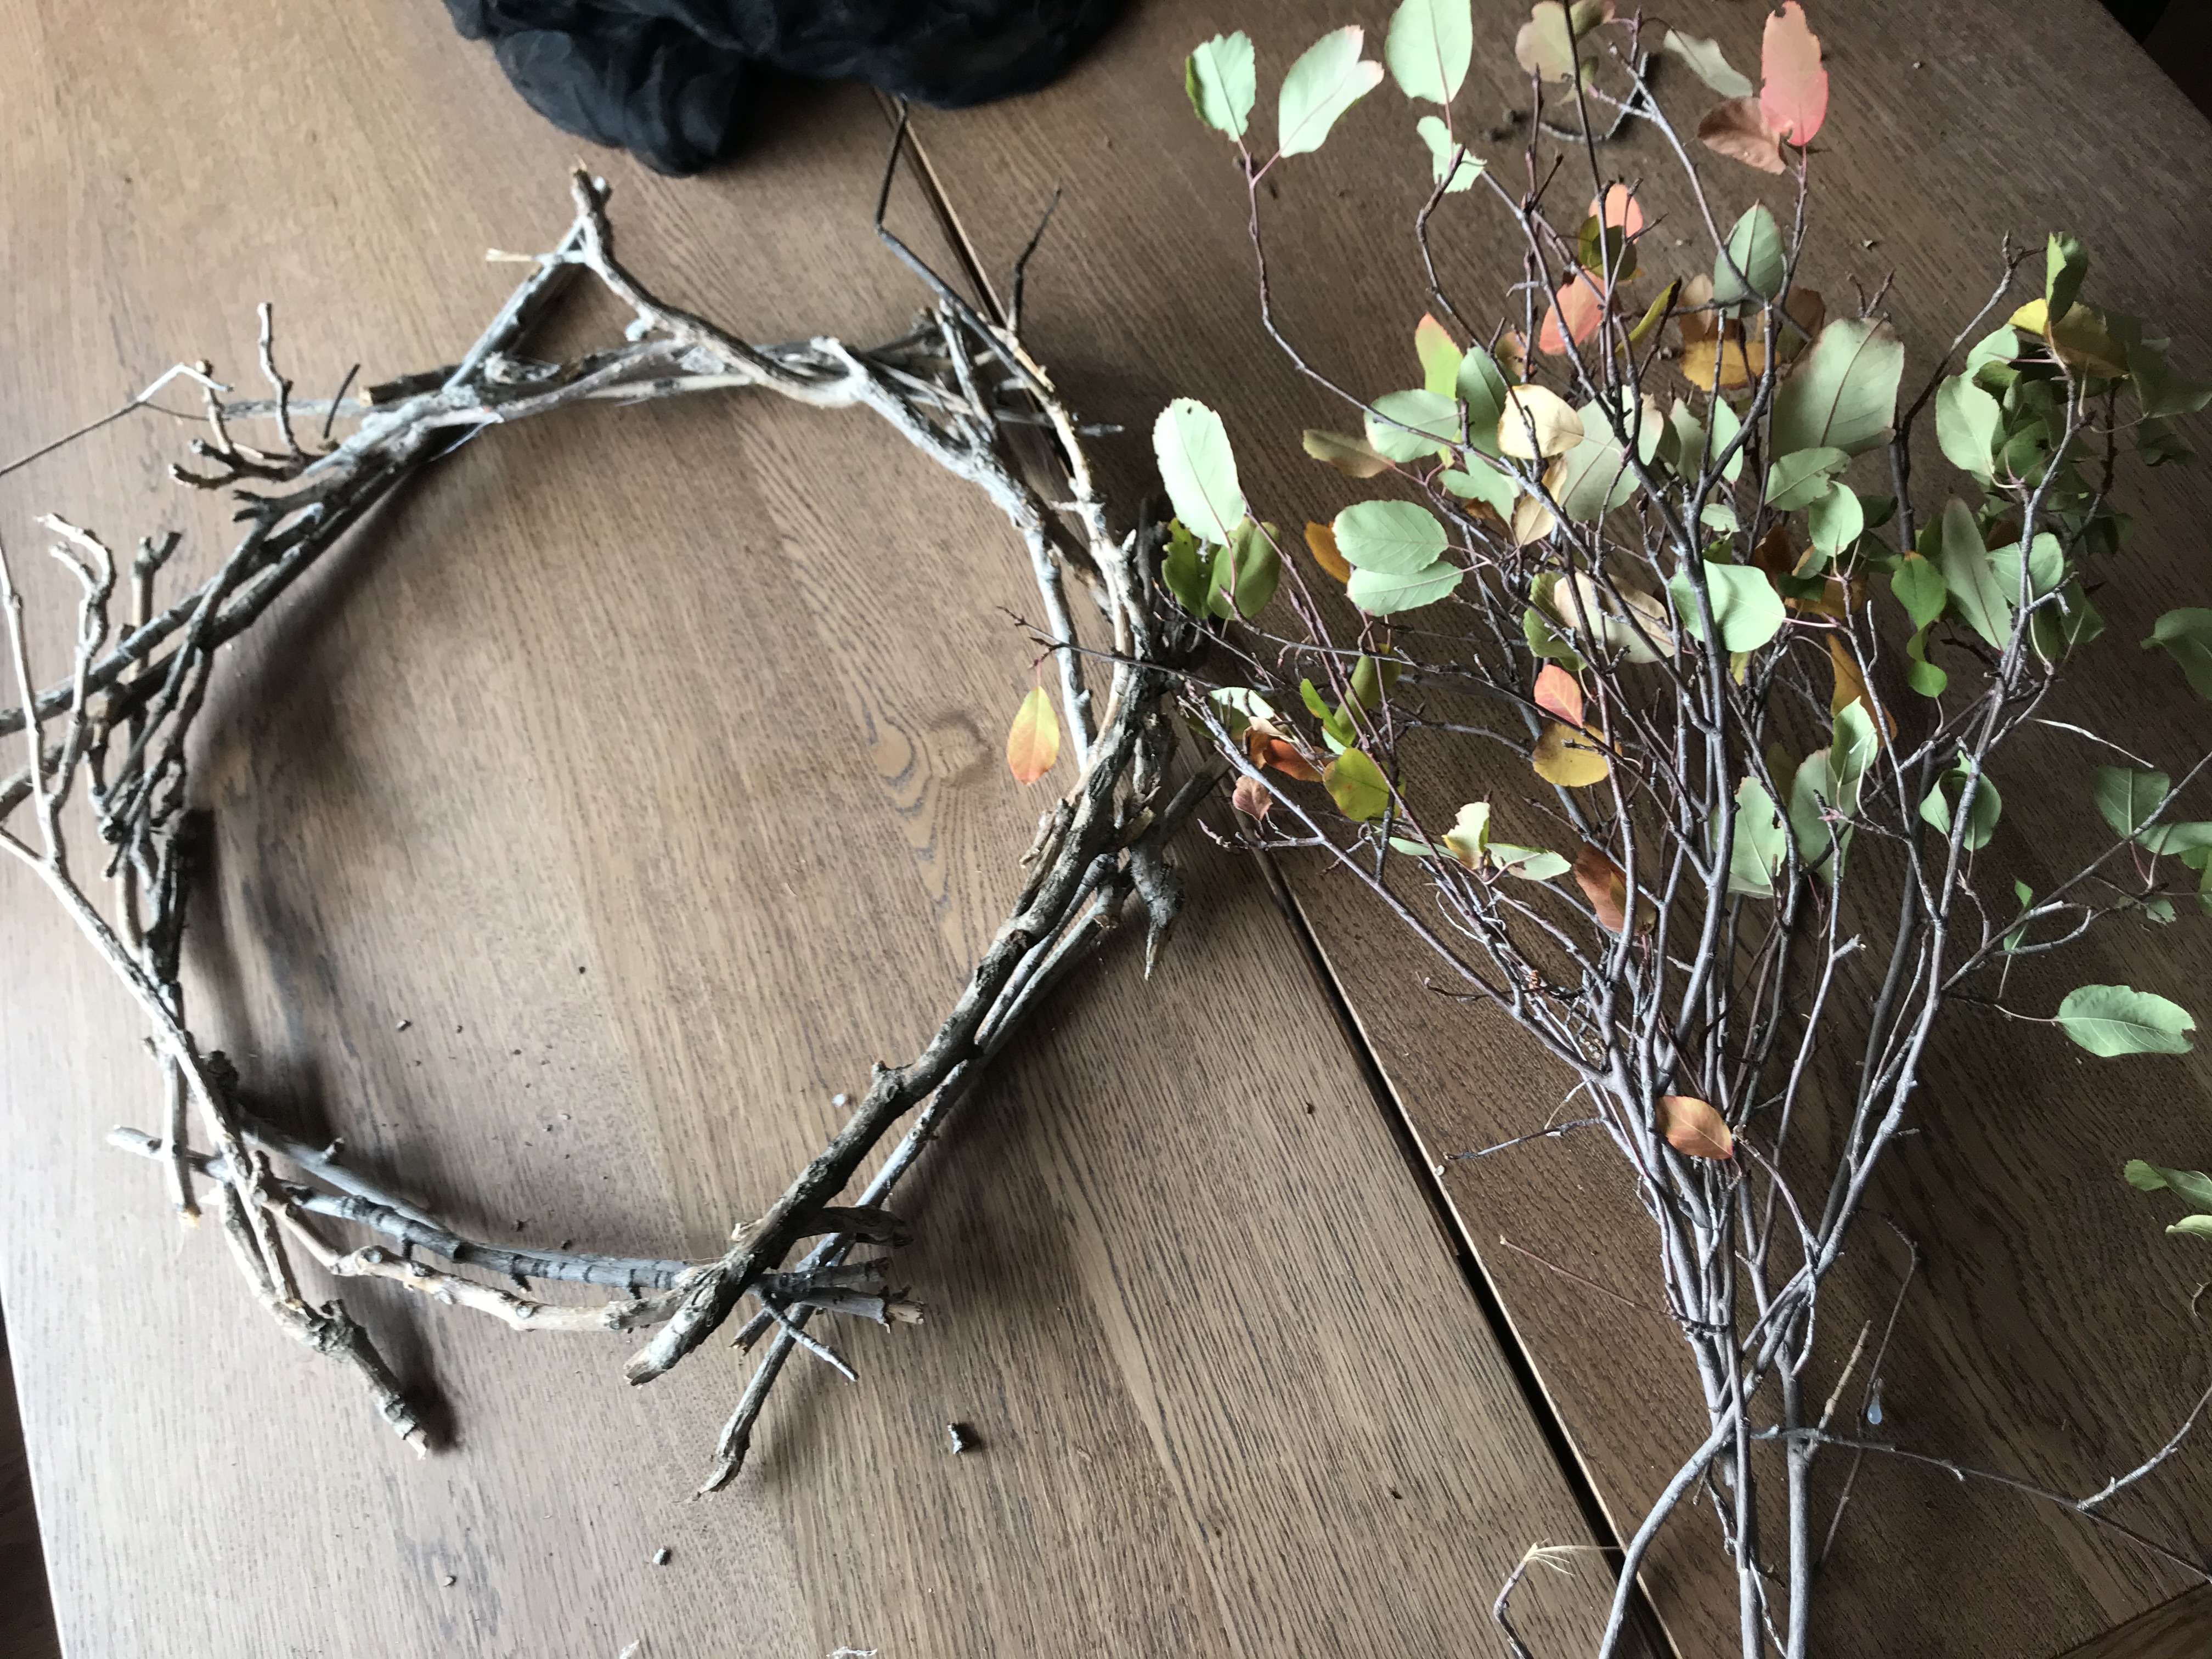
To give the wreath more dimension you’ll want to find branches with multiple small twigs at the ends! Tuck them into the wreath base and glue them in place. I pulled the leaves off but you can leave them on if you like the look of them!
6. Spray paint black
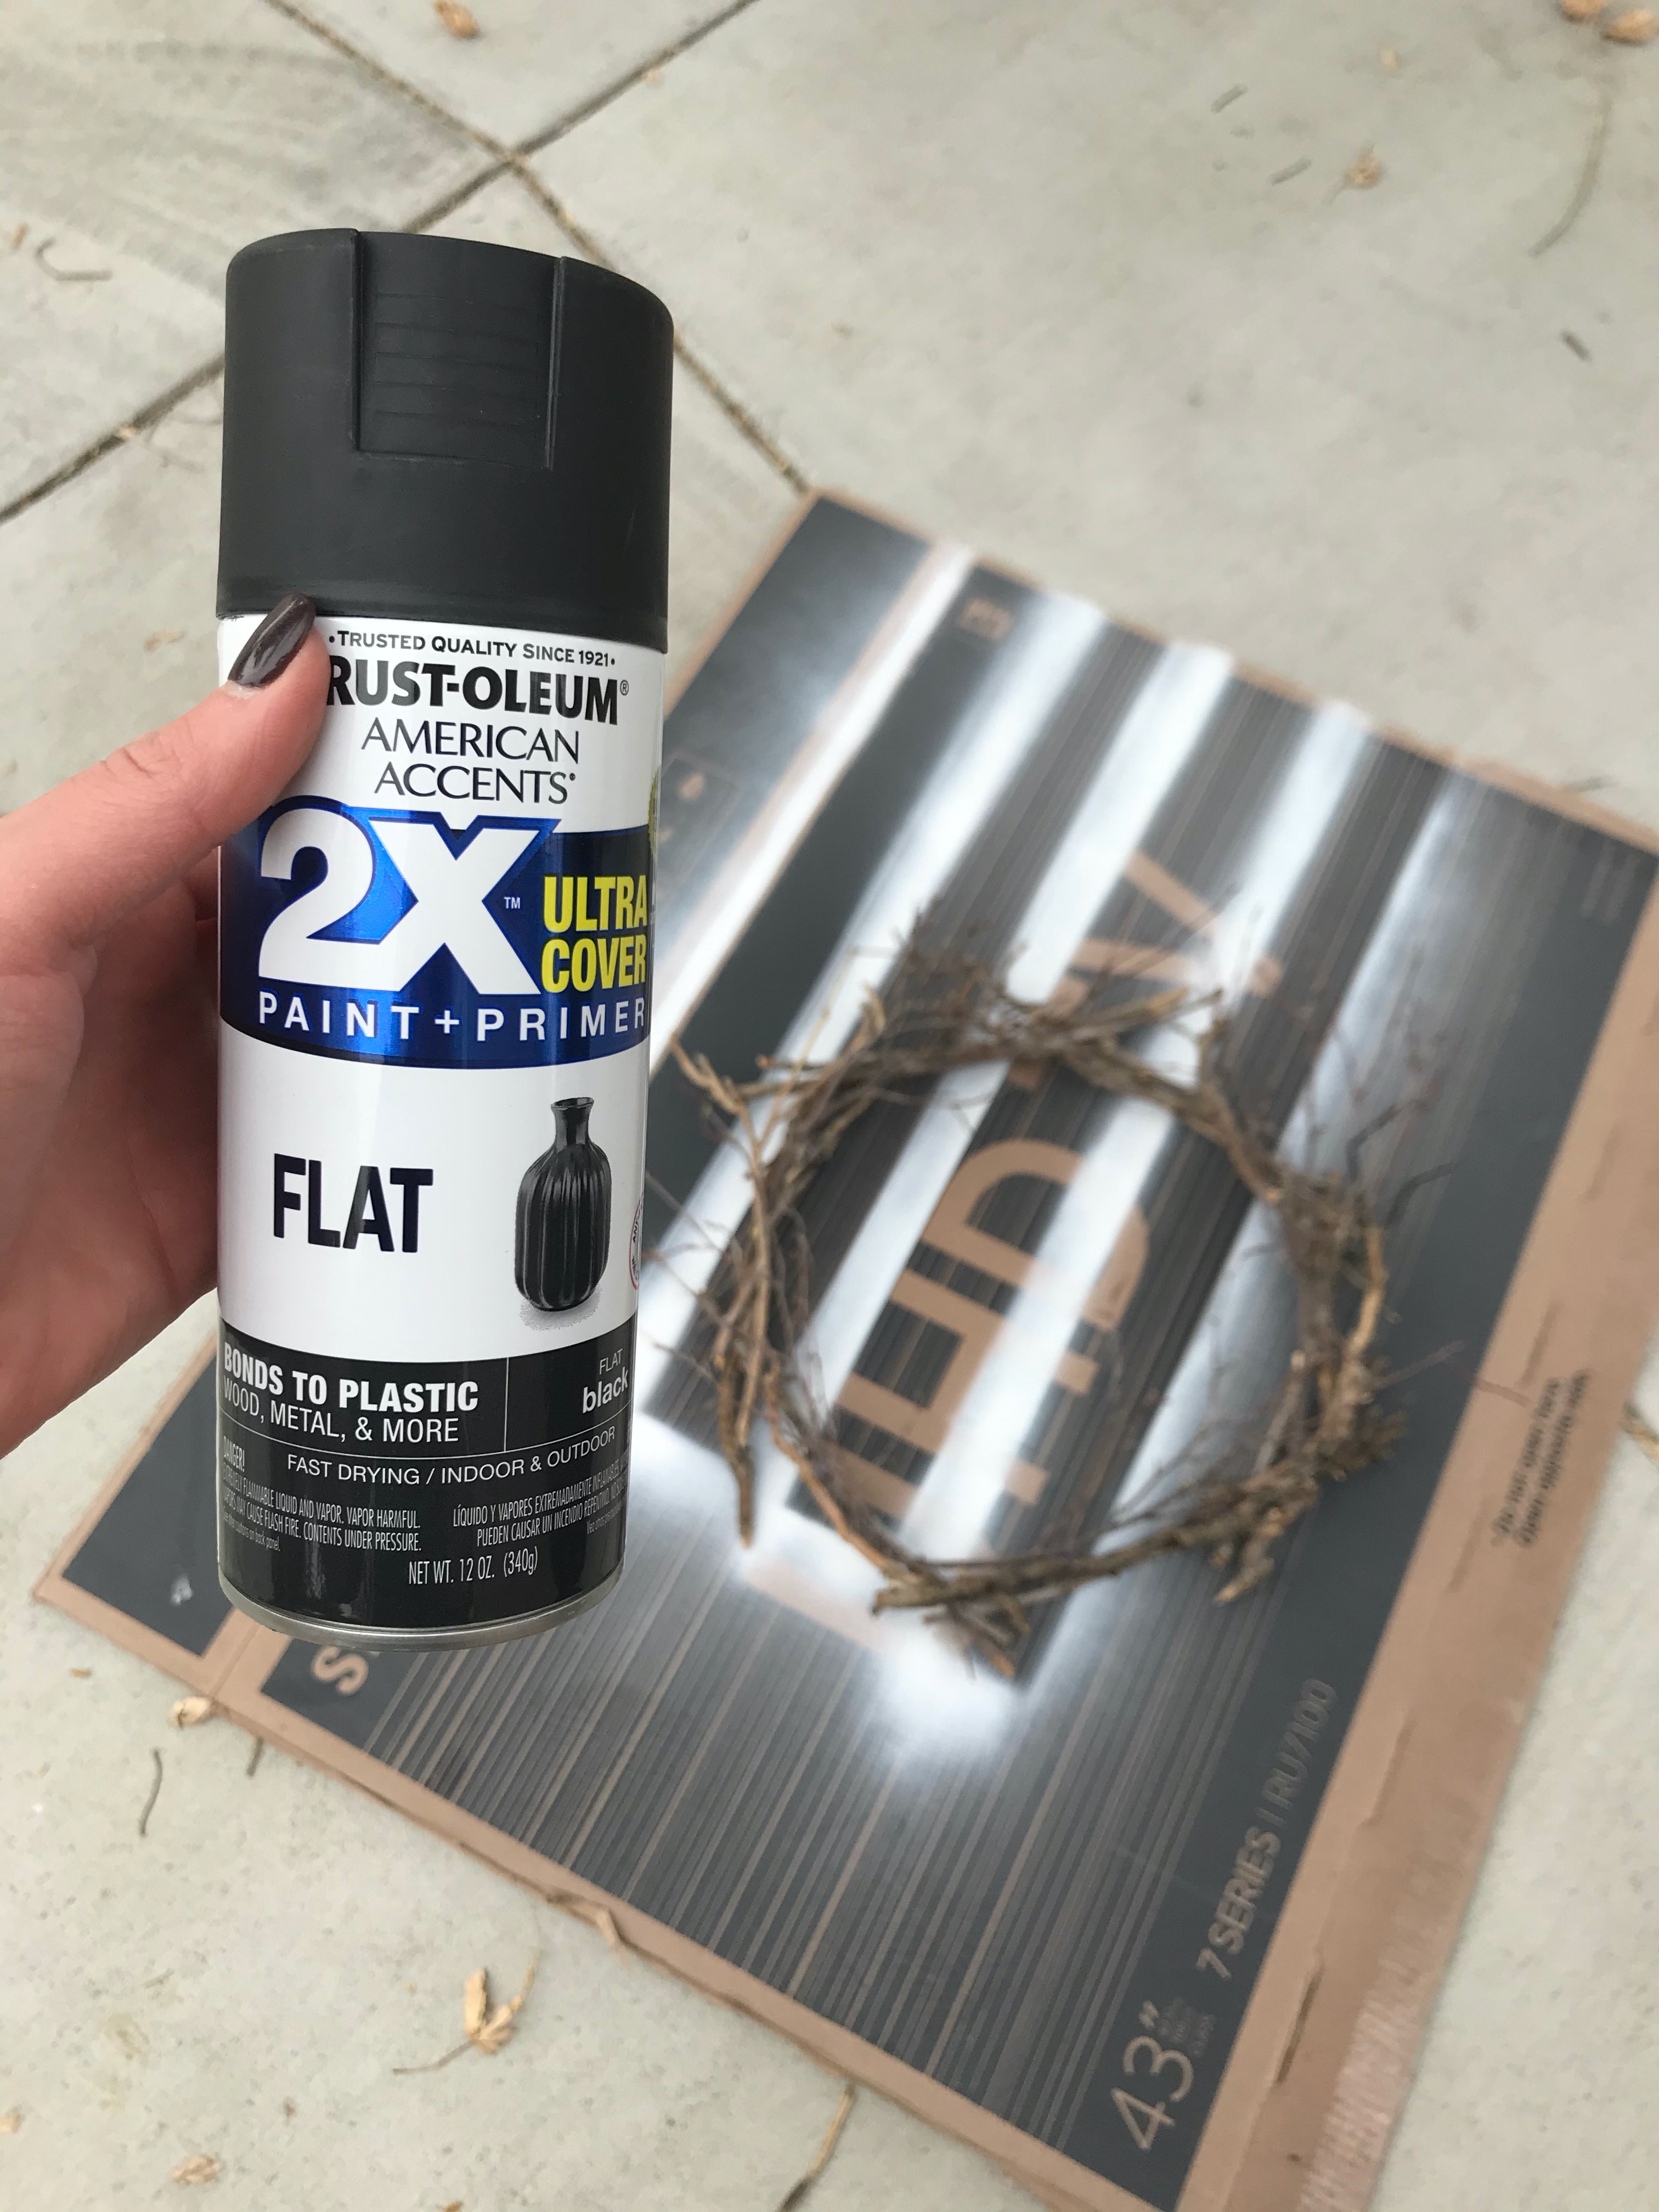
Once all the glue fully dried I put down some cardboard and painted the entire wreath with flat black spray paint. Do 2 coats to make sure every branch is fully covered.
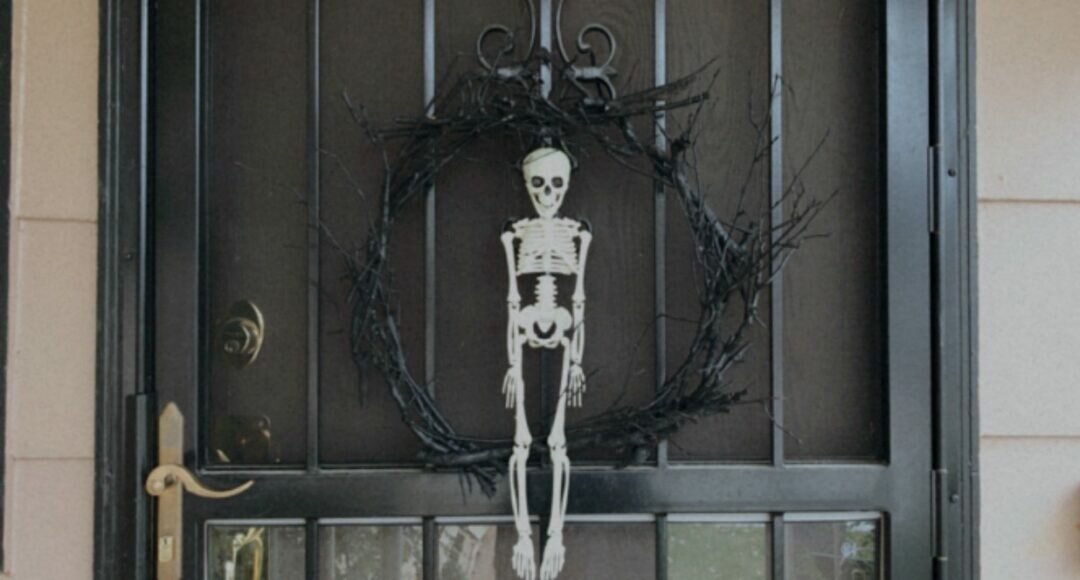
7. Hang!
I already had a small plastic skeleton hanging on my door so I just put the wreath up with it! You can hang your wreath with an over the door wreath hook, command hooks or zip ties like I did!
Cost Breakdown
- Branches & Twigs – FREE
- Black Spray Paint – $5
- Hot Glue Gun & Glue – $0 (borrowed from a friend)
I hope this blog was inspiring! Happy Halloween!


1 Comment
Decor costs can add up quickly so I’ve had to get creative this year in order to achieve the Halloween look I want on a budget!
December 4, 2020 at 2:46 am